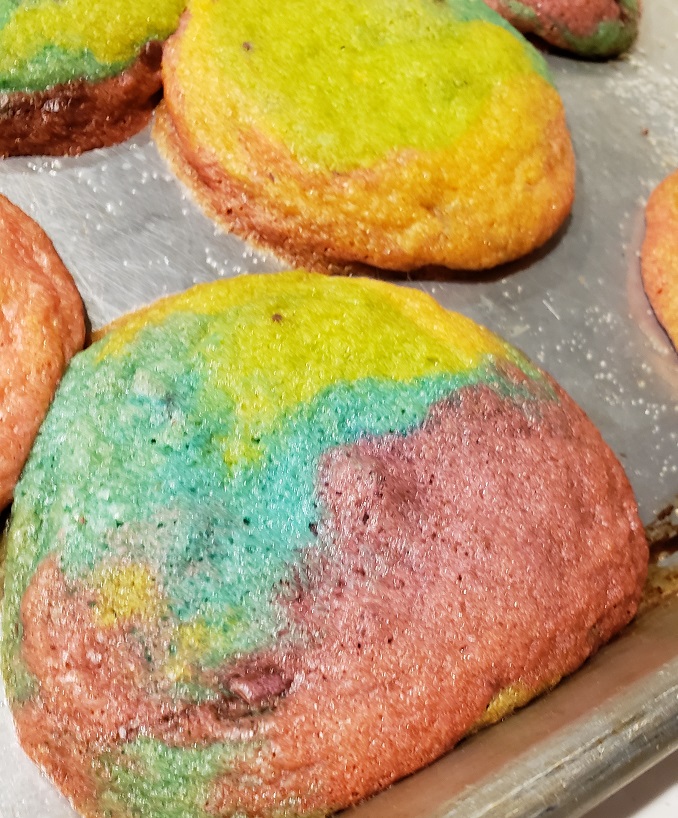
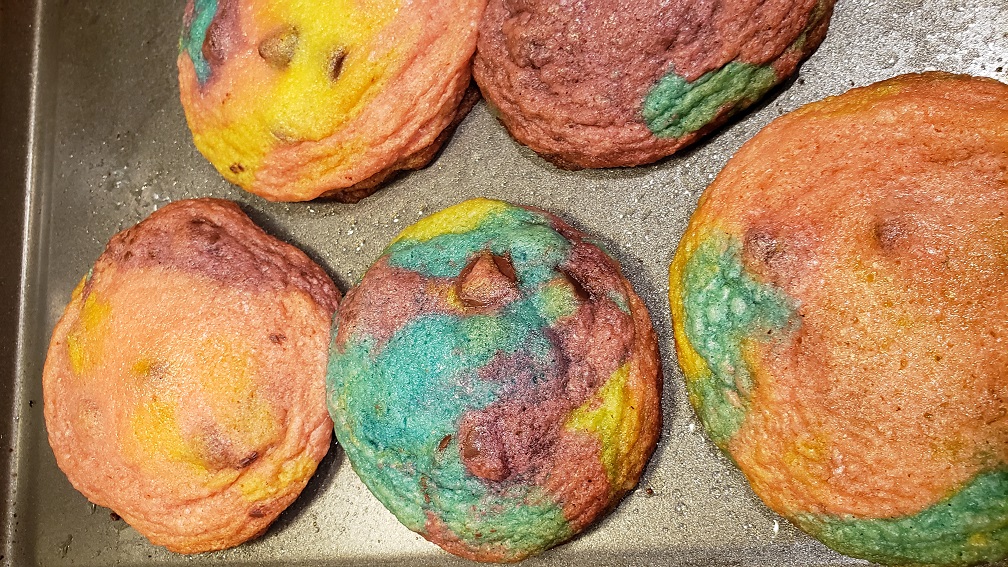
Have you ever had a dream that you could eat a unicorn’s poop, but in cookie form? Well now you can!
if you ACTUALLY wanted to eat Unicorn poop… please get some help.
NESTLÉ® TOLL HOUSE® Rainbow Chocolate Chip Cookies
Course: DessertDifficulty: MediumA lot
servings1
hour10
minutes1
hour10
minutesYou can get the ORIGINAL NESTLÉ® TOLL HOUSE® Cookie Recipe HERE! The below recipe is doubled, and includes food coloring.
Ingredients
4 1/2 cups all-purpose flour
2 1/2 tsp baking soda
2 tsp salt
2 cups (4 sticks) butter
1 1/2 cups granulated sugar
1 1/2 cups brown sugar
2 tsp vanilla extract
4 large eggs
2, 12-ounce packages NESTLÉ® TOLL HOUSE® Semi-Sweet Chocolate Morsels
Food Coloring – I used THIS ONE
Parchment Paper
Directions
- Preheat oven to 375°F.
- In a mixer on medium-low speed, cream together butter and sugar.
- In a separate bowl, combine all dry ingredients (flour, salt, baking soda).
- Once butter and sugar have been thoroughly combined, add vanilla and eggs until a cohesive mix forms. Gradually add the dry mixture 1 scoop at a time until thoroughly combined – stop mixing as soon as it comes together.
- Separate your dough into 6 equal sizes into 6 mixing bowls, one for each color dye that you have available. In each bowl, put 2 drops of food coloring. Mix until the color has been equally distributed. Add one drop at a time to increase vibrancy.
- Divide the 2 bags of chocolate chips equally into the mixing bowls.
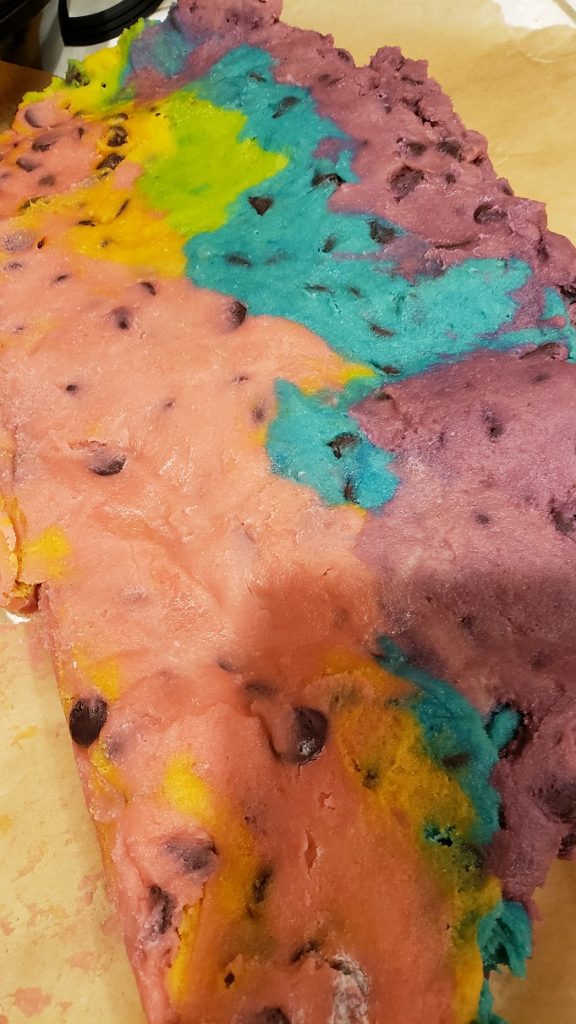
- On a piece of parchment paper, layer your dough either in logs or in patches to get your desired color pattern. Refrigerate for 30 minutes, chop into 1-inch size pieces, bake for 10 minutes, and you’re done!
Notes
- Working with food coloring is hilarious business. Make sure you have a glove, or some REALLY GOOD SOAP to use immediately after your hand comes into contact with the dye. I’m going to have blue thumbnails for a week…. minimum….
- You can divide your dough based on the type of food coloring that you have available. If you only have 4, you can divide your dough into 4 parts. That would be much easier, and would look just as good as 6!
- You don’t have to do this in a rainbow pattern. You could do camouflage – it’s up to you!

This dough 100% didn’t turn into the nice log I had imagined and seen in videos. Because my kitchen got so hot with the oven on, I had to take globby handfuls of dough and throw it onto the parchment paper. Because I made a double batch, I then had to cut it in half, place on yet another parchment paper, and flatten the dough out with a rolling pin. I then had to put the dough in the fridge (it needed it) and pause to eat dinner because these cookies made me H.A.N.G.R.Y….
Just like the “ready bake” cookies you get at the store, I had to cut them into squares, roll with my hands, and place onto a baking sheet once they were ready to be baked. My whole takeaway from this is: You may want to wait to turn your oven on until AFTER your dough has chilled.
My coworker’s daughter requested these cookies, and I am SO GLAD I took the opportunity to make these! This was my first time using food coloring on cookies, and my hands have learned a valuable lesson.

Pro Tip:
Make sure you have an empty sink ready to receive the 7+bowls that this recipe requires you to use. Good luck!!


