
I am a firm believer that the BS / Pictures should come AFTER the recipe details. Go and make your mistakes before scrolling past the recipe to get to the answers and my life story.
No Knead Bread!
Course: Appetizer, or a meal… who am I to judgeDifficulty: Easy5
minutes40
minutes4
minutesYES
This recipe was inspired and adapted from the No Knead Recipe by blogger Jenny Can Cook. Click HERE to see the original recipe!
Ingredients
3 cups flour
1/4 tsp active dry yeast
1 tsp salt
1 1/2 cups hot water (125-130°F, I used hot tap water)
1 Tbsp sugar
Additional flour for shaping, or consistency
Directions
- Combine all dry ingredients in a bowl, whisk until combined.
- Stir in water until well combined and a shaggy dough forms. Knead to get all of the little bits integrated.
- Cover the bowl with plastic wrap or a towel, let rise for 4 hours or until the dough is bubbly
- Turn bowl onto a floured surface, form it into the desired loaf shape. Cover with a towel and let rest for about 30 minutes.
- Preheat oven to 450°F with a pizza stone inside.
- Place dough onto parchment paper (NOT WAX PAPER)
- Once oven has reached 450°F, carefully place the dough onto the pizza stone. Carefully shut the oven door, as slamming the door shut may collapse air bubbles.
- Bake for 25-30 minutes, or until crust is golden brown
- Carefully take the bread out of the oven and let cool before slicing!
Notes
- My bread came out quite dense, so I would let it rise for longer and at a warmer temperature. Our kitchen is generally cold.
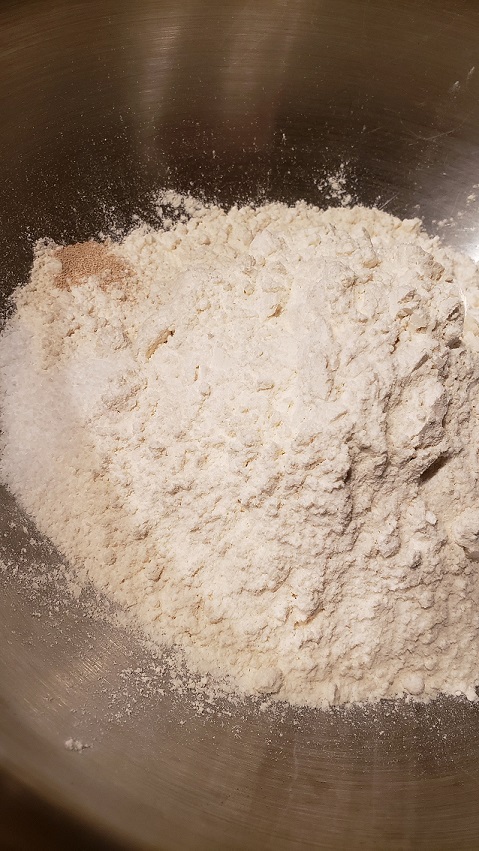
Step 1 – Get all of your dry ingredients together. If you’re like me, you’ll realize after the whole dough has been mixed that some sugar should have gone into the batch to feed the yeast. Add the sugar during this step, don’t be like me!
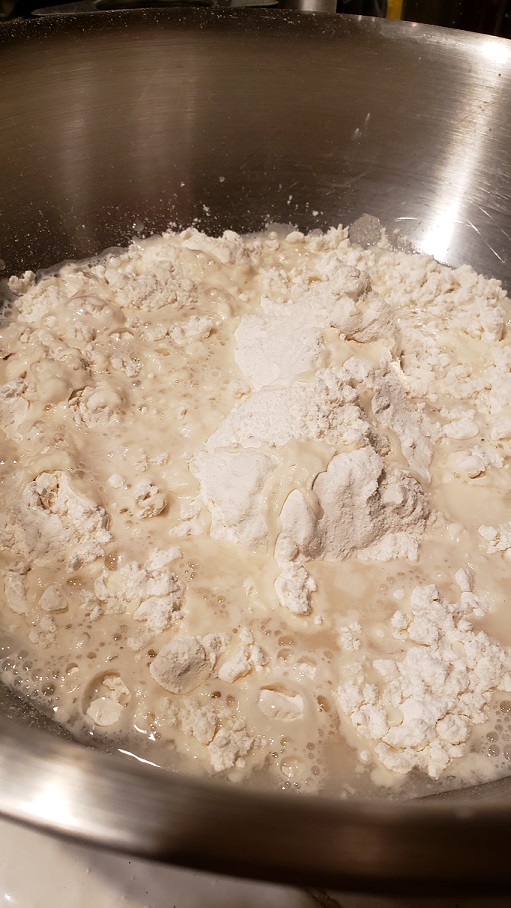
Step 2 – add the water! I used hot water from the tap, per instructions from Jenny. You don’t want to use boiling water, since this will create an environment too hot for your yeast to survive and multiply. You want the environment to be just right for the yeast to get cozy. Think about it: When have you ever wanted to get cozy when it was all hot and sweaty in your apartment? Never?? Yeah, that’s how the yeast feels, too.
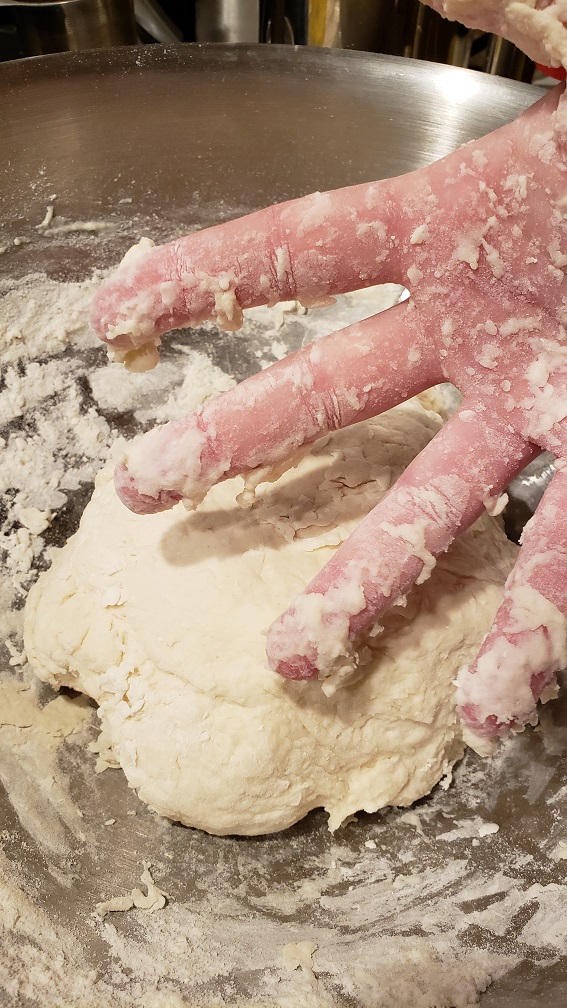
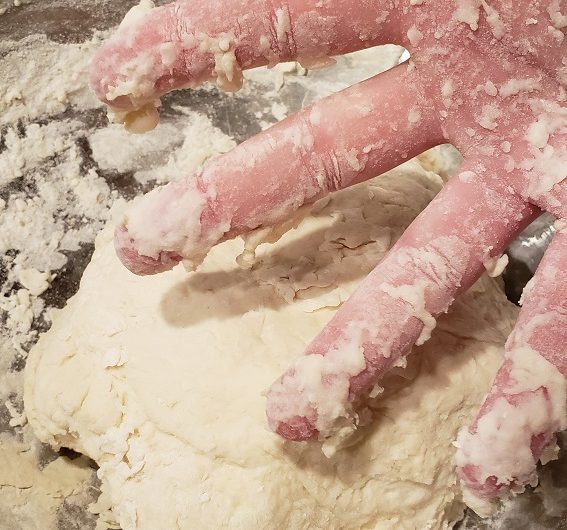
Step 2, part 2 – GET IN THERE WITH YOUR HANDS AND MIX IT. Don’t be a baby. That sticky glob will wash off, I PROMISE YOU. If you want to use a spoon that’s fine, don’t let ME tell YOU how to live your life.

Step 3 – use this cute towel to cover the bowl and let it rise. If you look hard enough in this picture, you can see some fun things. OH LOOK. TEA STRAINER!

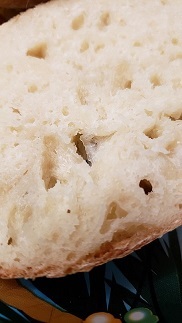
And then you have BREAD! It’s a bit derpy, but while it’s still warm it’s pretty tasty 🙂

Even though there are air pockets, it was still quite dense – make sure you let your bread rise for the recommended time or until doubled in size.